The Weekender

This post is going to have a lot of pictures. Because when you spend a week making the daunting Amy Butler Weekender Bag, you take a lot of pictures. Those of you that follow me on Instagram got to watch this bag come together a bit more each day. That was a lot of fun, instant support group!
If you aren't familiar with this bag pattern, it's kind of notorious for being a {naughty word} to put together. Many people are starting to make this bag using the Quilt as You Go (QAYG) method to avoid all the interfacing required. I might try that next time but for starters, I wanted to stay true to the instructions (with a couple minor changes that I will talk about below.)
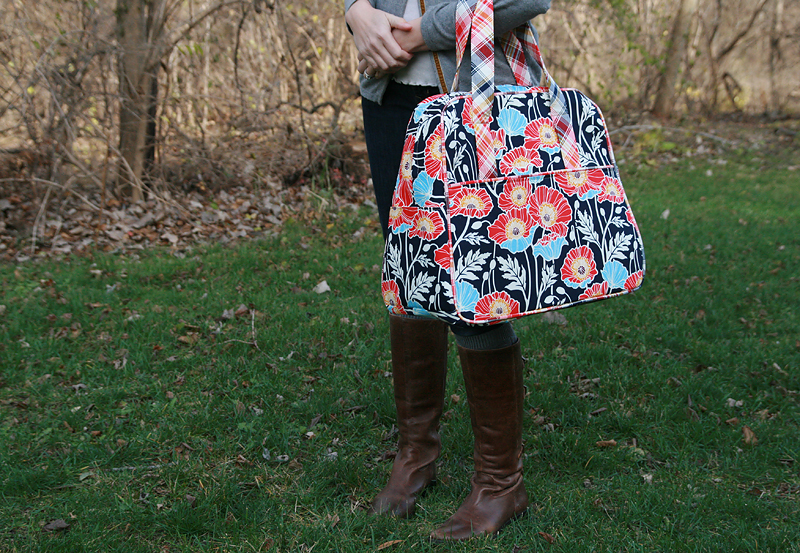
I have had this bag on my to-do list for awhile. I almost consider it some sort of sewist rite of passage. I heard it was a challenge and I wanted to see if I could do it. My only holdup was I could never find a fabric I wanted to use. The pattern recommends home dec weight and that is pricier than quilting cotton, so I wanted the fabric to be something I loved. Fast forward to the Sewing Summit. Joel Dewberry was a speaker one afternoon and he brought samples of his new line Notting Hill. As soon as I saw this fabric, I was in love. And then he said it was a Cotton Sateen/Home Dec weight! I knew immediately I was going to use it for my Weekender.
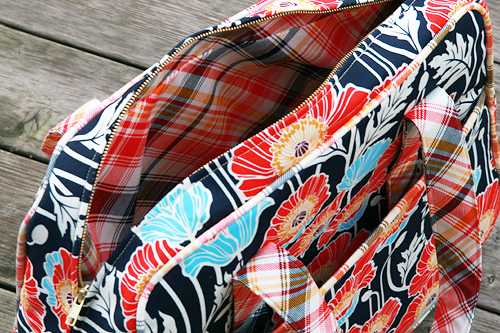
My choice for the lining and piping was a bit of a surprise for me. I know almost everyone out there seems really excited about all the plaids that are coming out in fabric collections lately. I'm not really a plaid person. (ducks for cover) But I just felt like it really complimented the floral print, so I stepped a bit out of my comfort zone and decided to use it.
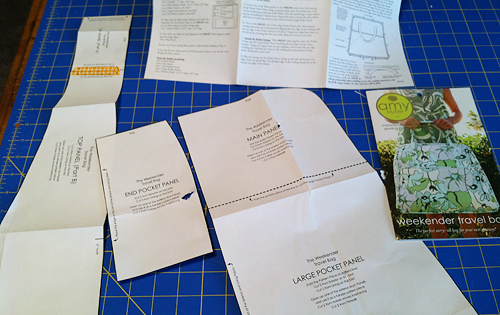
When I first opened the pattern and cut out the pieces, I thought "Only 4 pieces? This is going to be so easy!" LOL Don't be fooled. Not only do you cut out multiples of each out of your outer and lining fabrics, you also cut multiples out of 2 types of interfacing (not pictured). I spent several hours cutting.
Based on Stephanie's weekender, I decided to cut my handles a bit wider (6").
I was really lucky to have been loaned a cording foot (#60c) for my Bernina by the wonderful Catherine Redford from my local modern quilt guild. This made everything involving the piping SO much easier! I highly, highly recommend using a cording foot rather than a zipper foot for your piping. I'm actually going to buy my own now, it was that awesome.
Also, a general note: I used the pattern-recommended jeans needle for my machine. You have a lot of layers to sew through, and you need the extra strength.
The side panels came together easily, even if applying all the interfacing took forever.
For my second change to the pattern, I once again followed Stephanie's example and used a shorter zipper, 24". It was easily available at JoAnns and works just fine for the bag.
So, up until this point, I wasn't sweating this bag. You make the large front and back. Then you make the top/sides with the zipper and sew that piece to the bottom to make a big circle of fabric. Then you have to sew this circle to the larger front and back panels. I know I've read of other people having this problem...they weren't an exact fit. Now I'm not sure if the problem was I wasn't using exact seam allowances or maybe the pattern is wonky, but it was a bit frustrating. Add in the fact you are sewing through a LOT of stiff interfacing, well you can see where one might start cursing. ;)
I highly recommend getting some binder clips to hold your pieces together rather than pins. I only had 2 binder clips on hand so I was forced to use pins and now they are all bent and ruined.
Again, I used the cording foot to guide my sewing and it worked great!

So I've finished the bag. I'm not sure if I'll ever make another one. LOL But I'm super excited to have it and I'm very happy with my fabric selection. As my husband told me when he saw it "they certainly will see you coming with that." Yep, it's not subtle. But I love it.


